In this article we'll be covering the different ways you can set up a proxy in MacOS. Whilst the user interface can differ slightly between versions of MacOS the method and interface text is very similar. Screenshots and directions in this guide have been taken from MacOS Big Sur.
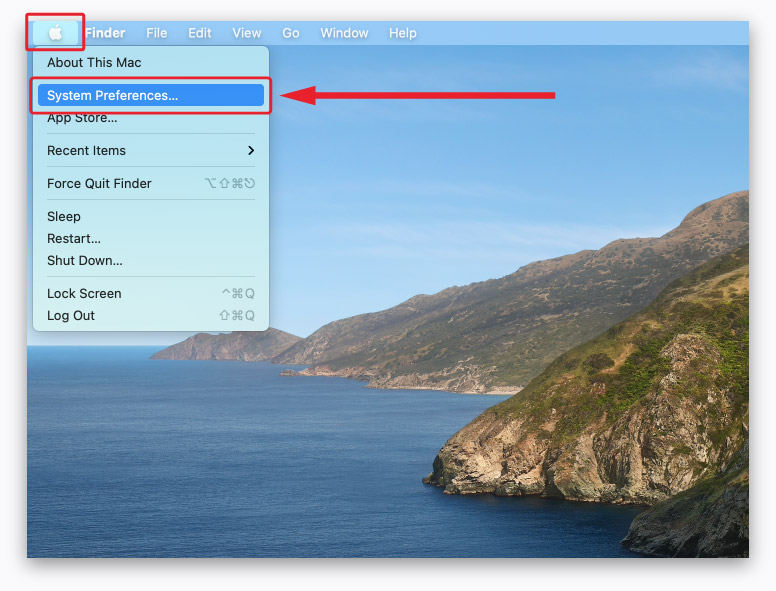
1. Open the MacOS System Preferences. You can do this by clicking on the Apple icon on the far left of the menu bar at the top of your screen and selecting System Preferences... Alternatively you can search for "system preferences" using Spotlight Search.
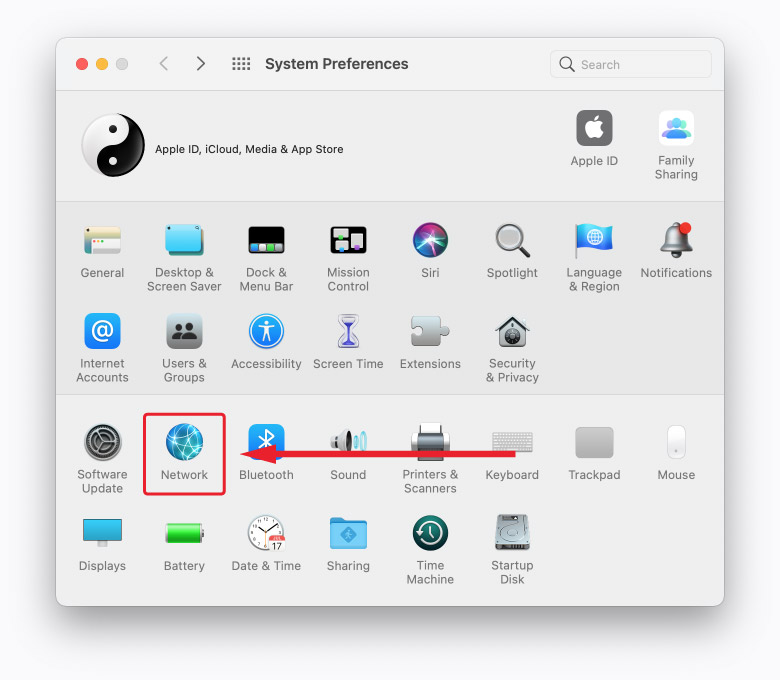
2. Once the
System Preferences window has been opened select the
Network icon.
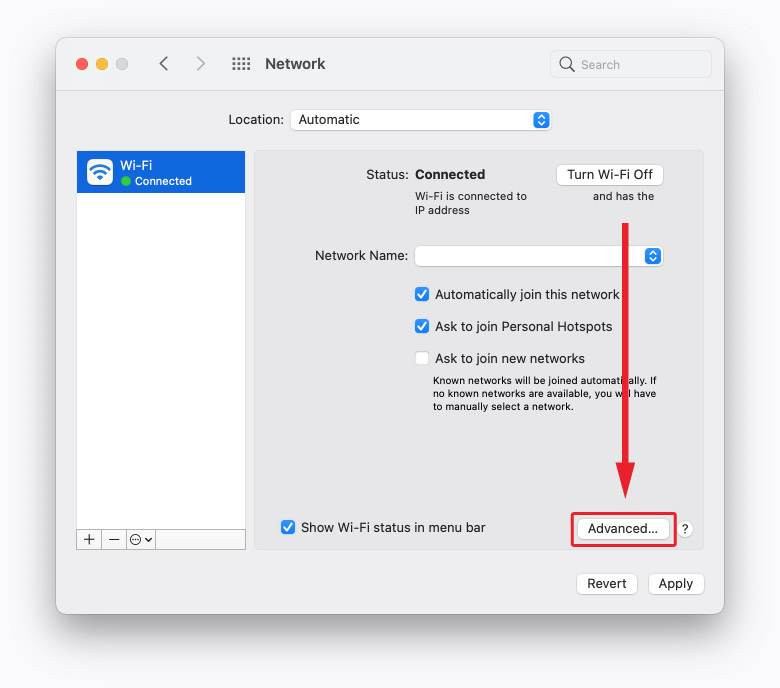
3. From the Network section ensure your active network interface is selected (Wi-Fi in the example screenshot) then select the Advanced... button in the bottom right corner.
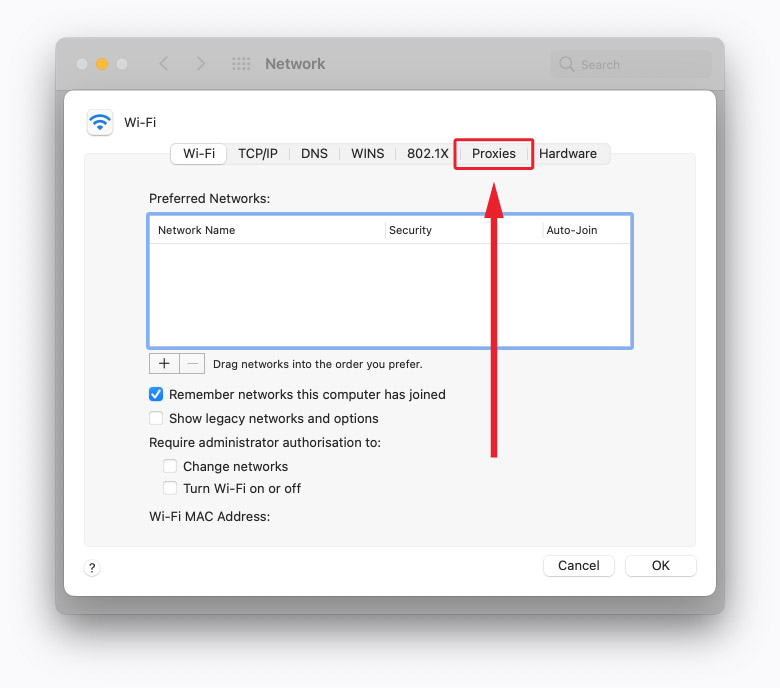
4. From your network interface pop up window select the
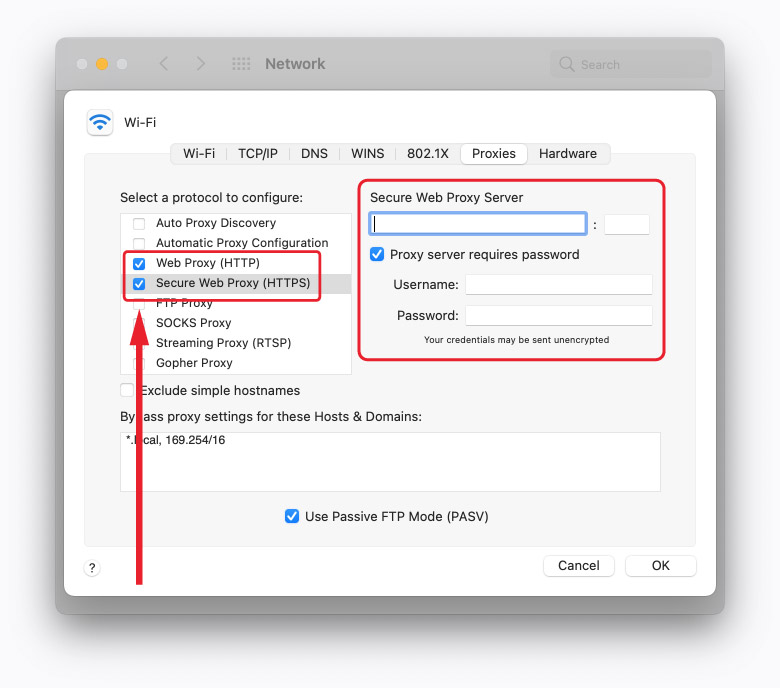
Proxies tab.
5. From the
Proxies tab firstly select the proxy protocol(s) to configure (in the example screenshot
HTTP and
HTTPS have been selected). With the desired protocol selected enter your proxy IP address (or URL), port, username and password in the relevant areas. If you are a Prestige Proxies customer then these details can be found by selecting your proxy package on the
My Packages page of our customer portal.
6. Once all details have been entered select
OK to confirm and then
Apply (in the previous
Network section window) to activate the settings. Any application you use that respects the MacOS default proxy settings will now route its traffic via this proxy. It's worth bearing in mind however that not every application and service respects these default proxy settings so you will likely want to double check that your usage is actually via the proxy.